Setting up a Course
Create
To create a Course, got to Courses/Active Courses:
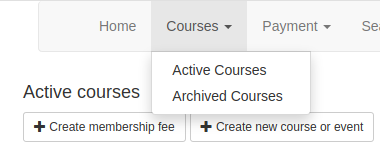
Click on the Create new course or event button.
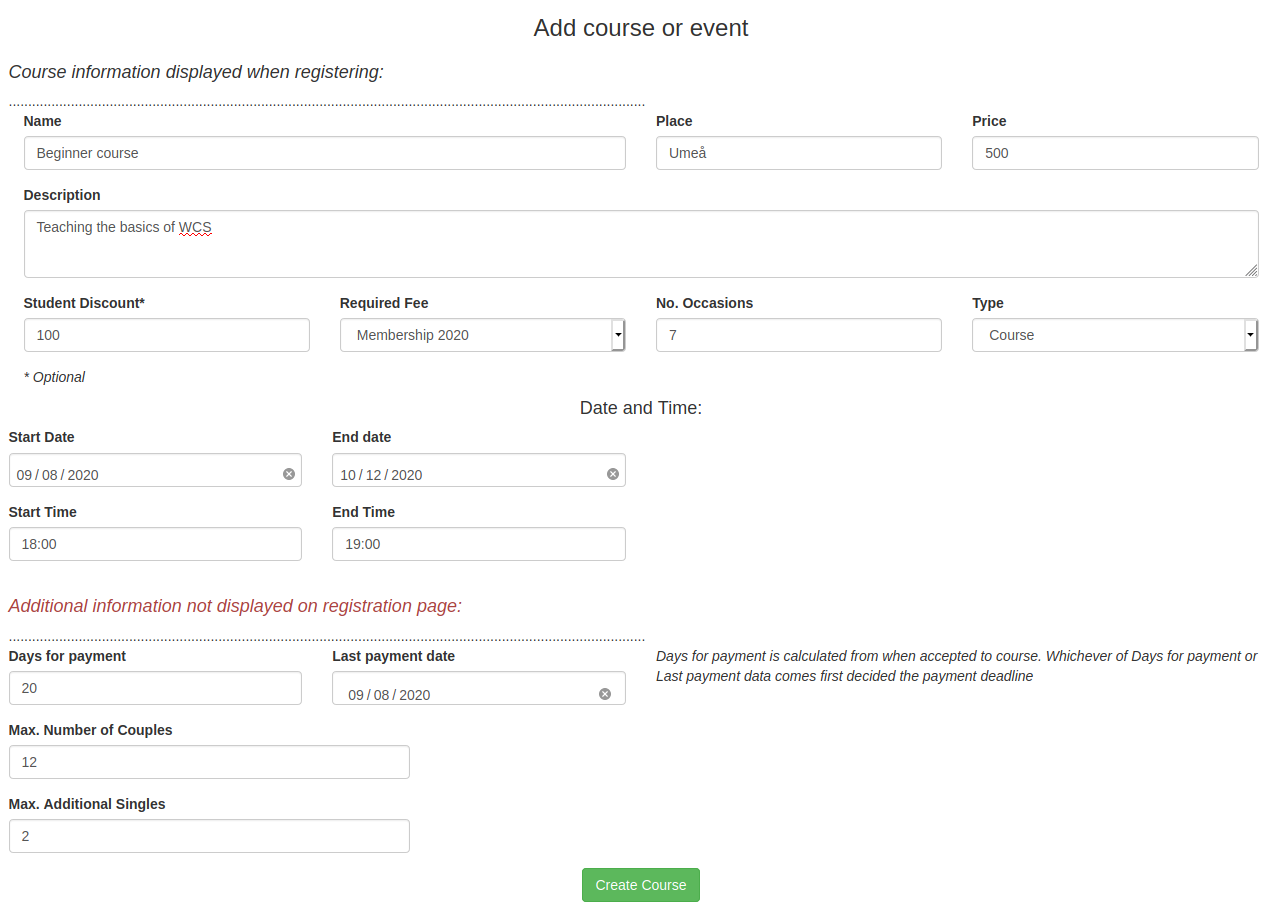
The first section is details about the course that will be displayed for the users when they register, the second section is additional details that is not displayed.
The student discount is optional. If a discount is filled in, a check box is added which users that are students can check when registering.
The required fee is whether the course requires a membership fee or not. If a user tries to register for a course that requires a membership but is not registered for one, he cannot register, and a popup message tells him to register for the membership first. However, as soon as he has registered for the membership fee he can register for the normal course, it does not have to be paid first.
Type is whether it’s a course or an event (this is actually not displayed for the user)
Days for payment and Payment date determines when the last date for paying for the course is. If you set the Days for payment to for example 20, and last Payment date to when the course starts, the users last payment day will be whichever date comes first of those two, and will be displayed in the accept email.
Max number of couples and additional extra determines how many the system accepts before starting putting people in queue. For more information on how exactly the system handles registrations see page reference section How the queue works
All courses and events are created as non-public, meaning they are not displayed for users and not open for registration, until you actively publish it.
Manage

When the course is created it will appear on the Active courses page. The red and blue columns displays how many is registered to the course. First column is accepted followers, second is accepted leaders, third is followers on queue, with the number within the brackets the number of followers that has started a couple registration but when their partner hasn’t registered yet. The last column is the same for leaders.
Open for registration
All courses are created unpublished, meaning they are not displayed to users. To publish or edit the course, click on the Manage button
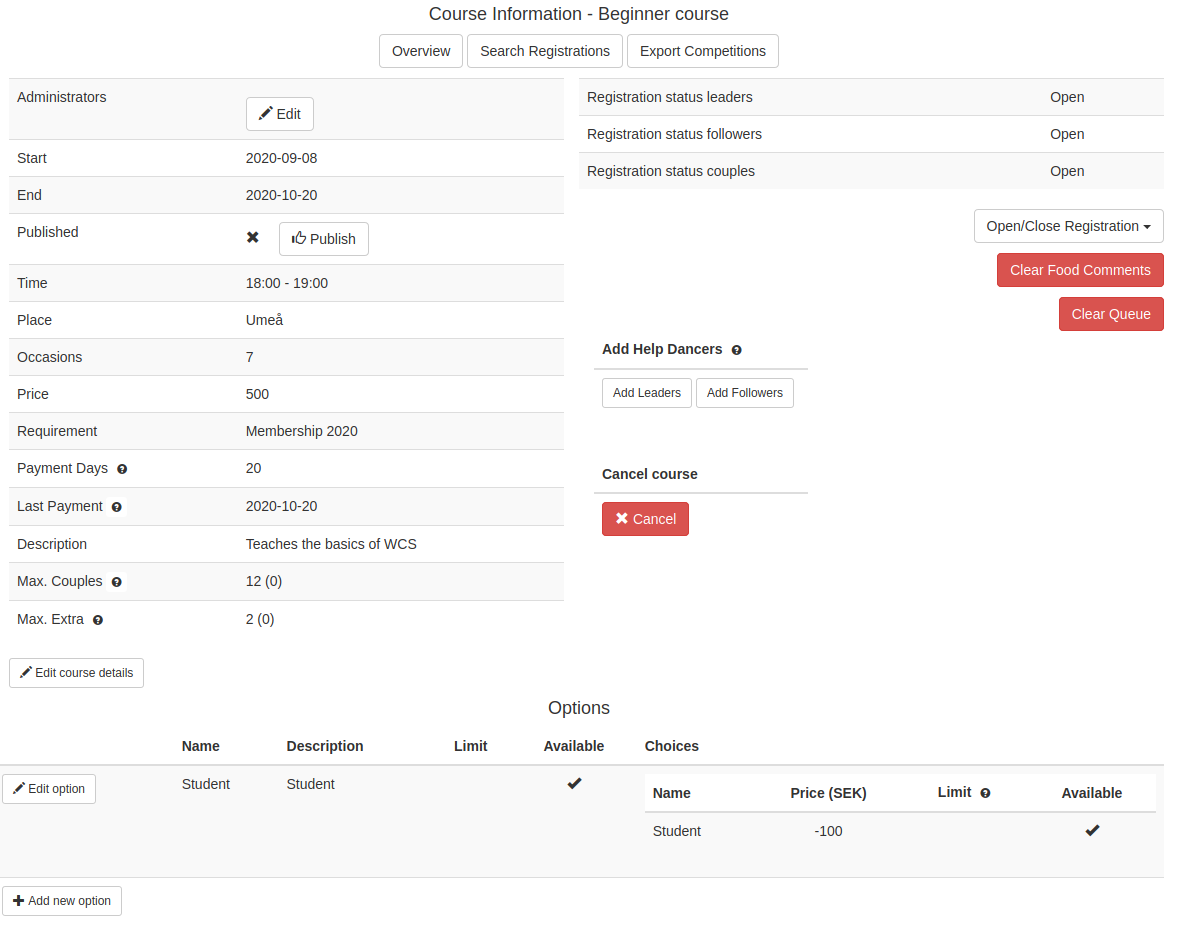
If a course is visible to users or not is set in the Published column, with an x meaning it’s not published yet. If the course is unpublished the registration will not be open, regardless of what it says in the Registration status to the right. Once you’ve clicked the Publish button, the course will be displayed for users, and the Registration status will determine if a course is open for registration or not.
Opening and closing the registration will affect how the registration page for the user looks like. Even if you close all, the course will still be displayed, but it won’t be possible to register for it. To remove it from the users display, you have to unpublish it.
Close for registration
Other buttons
Cancel
You can cancel a course by clicking on the Cancel button. This will open up a window looking like this:
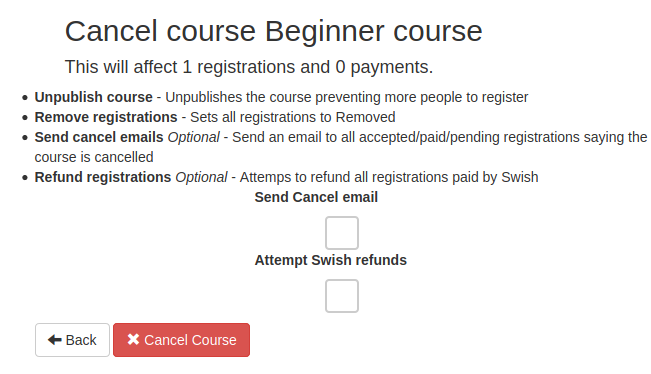
Cancelling a course does the following:
Unpublishes the course - the course is no longer displayed.
Remove registrations - sets all registrations to removed, which affects the price.
Sens cancellation emails (optional) - Send an email to all accepted/paid/pending registrations saying the course is cancelled.
Refund registrations (optional) - Attemps to make refunds to all registrations paid with Swish
Before cancelling a course and attempt refunds, make sure that all recent payments have been registered, and that all price for all registrations is correct, the system will try to refund whatever number is listed in the registration.
Edit
It is possible to change all the details for a course by click on the Edit course details button. Existing registrations won’t be affected. So if you decide that the course requires a membership fee, people that has already registered won’t have to pay for that. It is also possible to change the Maximum number of couples to less than is already accepted, without it affecting existing registrations.

At the bottom of the page is the Options for that course. A normal course most likely only have the student option. If a course didn’t have the student option to start with, a button next to the Add new option button would appear called Add student discount, if you want to add it after creating the course. The Add new option button is for if you want to add something else to course, for example, if people want to buy a t-shirt or order food, or something else, when they sign up.
If you added the student discount when creating the course, these details will all be pre-filled in the Edit options. The discount field doesn’t care if you write -100 or 100, it will always treat it as the positive number 100 in discount. If you for some reason don’t want to display the student option anymore, uncheck on the Available checkbox, then it won’t be displayed for users.
Start
When the course starts, you can use the Print button on the active courses page to print a list of all participants for a course. The list contains all registrations that are accepted or paid. It also list if there are help dancers, with a note that they are help dancers. The list also displays if they have paid or not.
Print the list, take it to the course, and make a note if people were there or not. After, click on the Search button on the active courses page, and tick these boxes and click update:
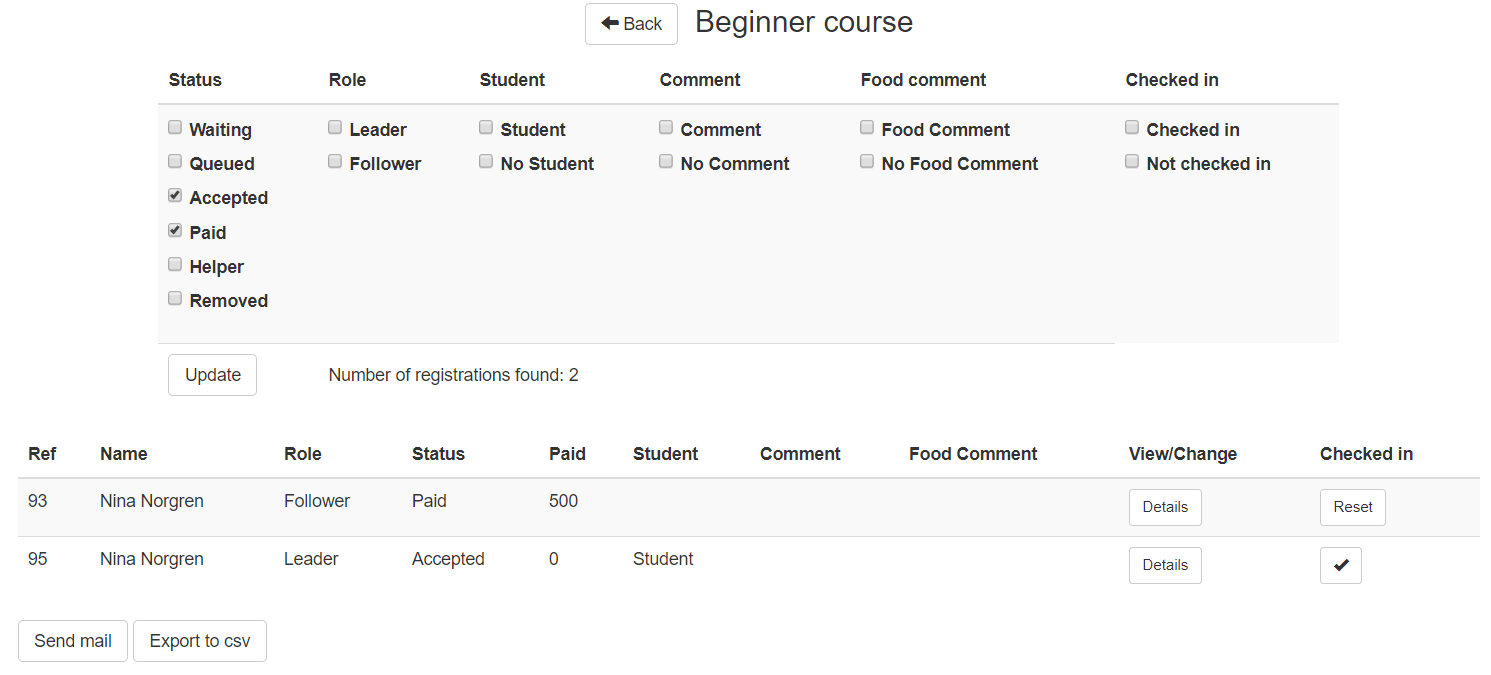
It will then display the same as on the Print list. If the people were present on the course, check them in using the button to the right. This way you would know if someone registered for a course but didn’t show up.
Archive
Once the end date of the course has passed, it will be moved to Courses/Archived courses. Normal users can not register for these courses anymore, as they are not displayed in their menu.
The View button leads to the same page as the Manage button on the Active courses page, with the exception that you cannot make any changes to the course. That includes closing the registration, clearing the queue or unpublishing the course. If users are on queue for it, it will not show up in their Archived courses. You can if you want, still use the Search registrations button to search for users on queue or waiting, and send an email to them. You can manually set the registration to removed by clicking the remove registrations button. That will set the registration to removed, without sending any emails. All registrations that are removed will still be in the system, just have a removed status, and will not be displayed in the users menu.